-1751978393.webp)
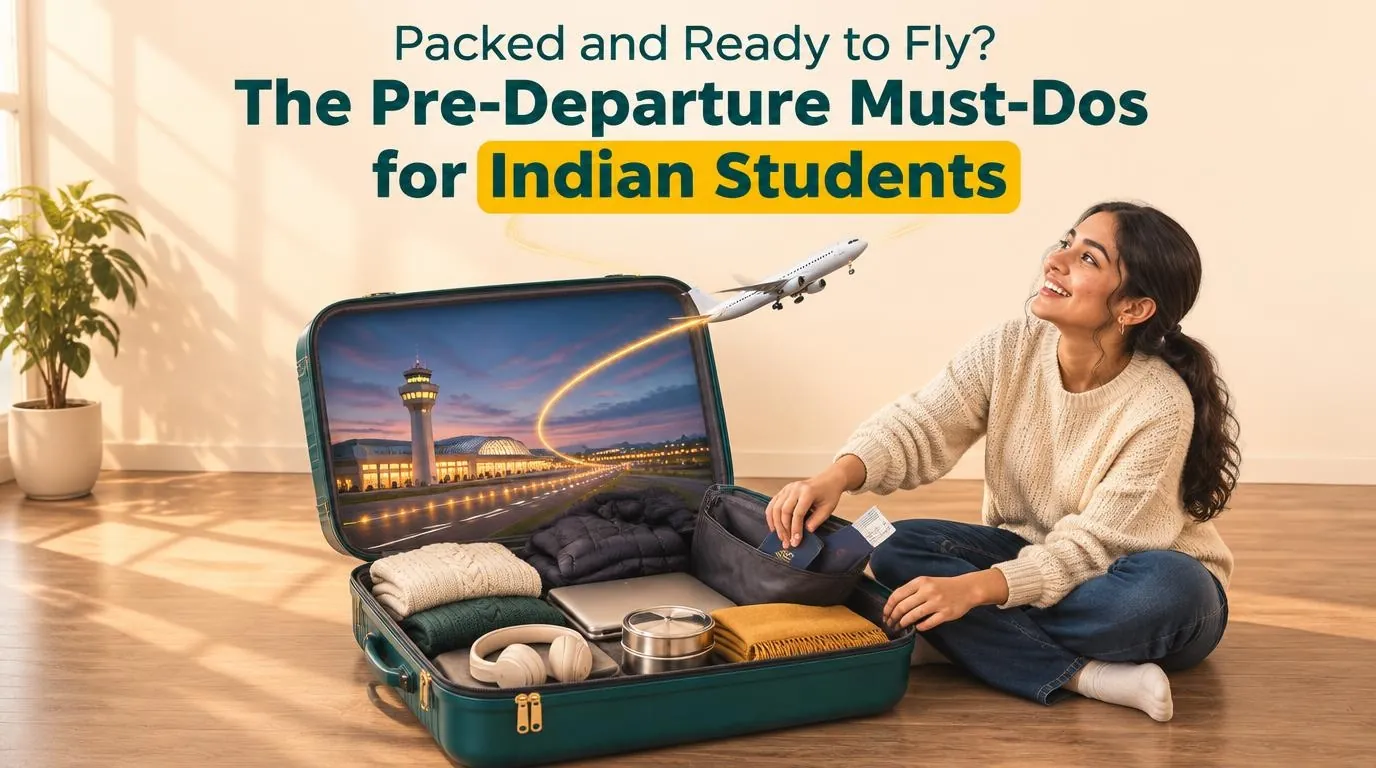
Your visa is approved. That feels like the finish line, but a few key steps are still left. Many problems Indian students face in their first month abroad start with steps they skipped at home. A missing paper at immigration, a blocked bank card or no bed on the first night can all be avoided. This pre-departure checklist for Indian students shows what to finish before you fly, and in what order.
At a glance
A good checklist covers six areas: travel documents, money and banking, health and insurance, housing, packing, and registration with Indian authorities. Each area has its own deadline. Sort your tasks by when they must be done, not by how easy they look. That way, slow tasks like loan payments and forex never hold up your trip.
India sends more students abroad than almost any other country. The Ministry of External Affairs (MEA) estimates that nearly 1.25 million Indians were in higher education abroad as of January 2025 (MEA, 2025). A separate 2025 count, reported by The PIE News, is a wider MEA figure of about 1.88 million Indian students across 153 countries as of January 2025, because it also counts about 6.3 lakh school-level students. About 1.25 million of them are in higher education (The PIE News, 2025).
Every one of those countries has its own entry rules. So use the list below as your base. Then adjust it for your country and your university.
Start your pre-departure preparation for study abroad two to three months before your flight. A good trigger is the day your visa is approved or your visa slot is booked. Loan payments, fee transfers and housing requests all depend on banks and universities. They move at their own speed, so waiting until the last two weeks often leads to panic.
The timeline below is general advice based on typical student journeys. It is not an official rule. Always check it against the arrival guide your university sends you.
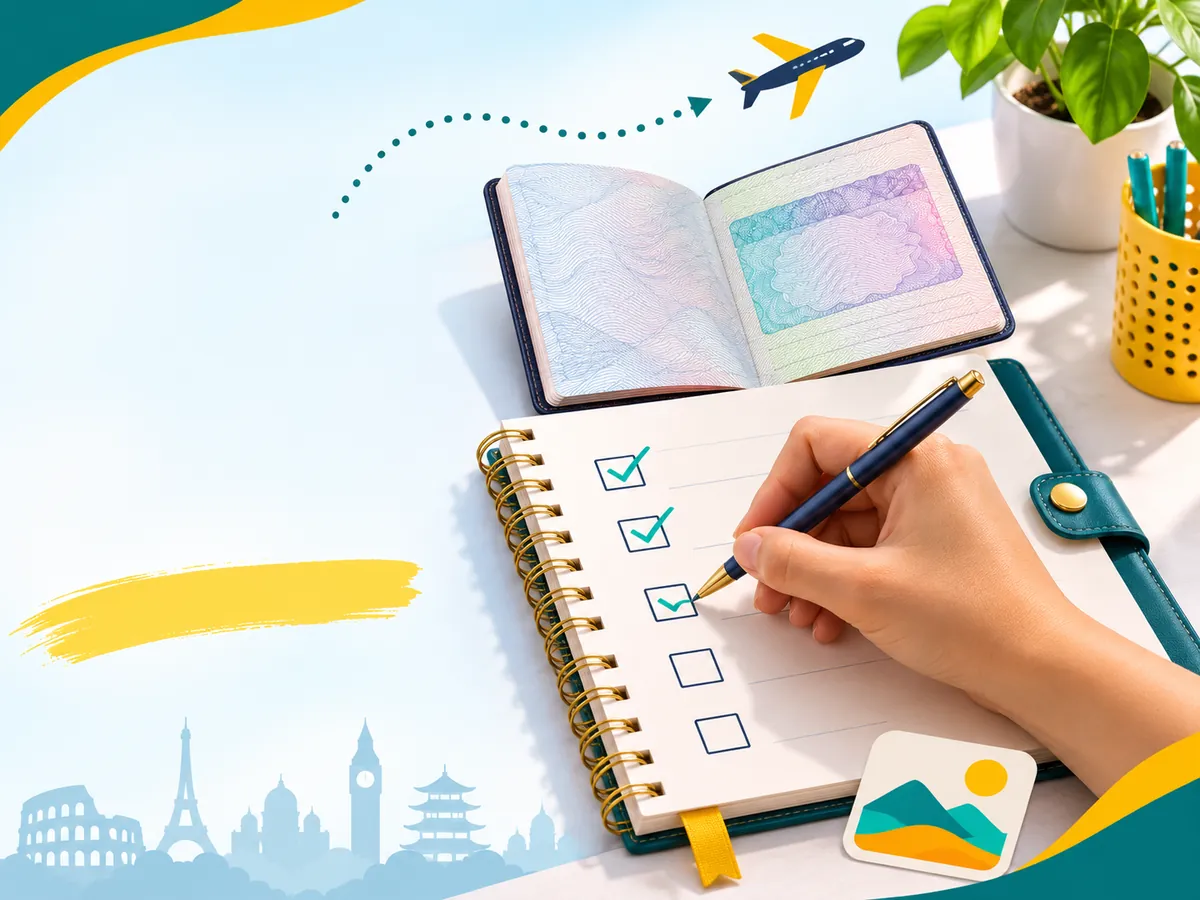
The main documents to carry when going abroad for studies are your passport, visa, admission letter, proof of funds, academic records and insurance papers. Keep every original in your hand bag, never in checked luggage. Immigration officers can ask for any of them when you land. A delayed suitcase should never stop you from entering the country.
Here is the document set most Indian students need:
Make two sets of photocopies. Keep one set in your checked bag and leave one set with your parents. Then scan every page and save the files in a secure cloud folder and on your phone. If your passport is lost, a clear scan makes the Indian embassy's replacement process much faster.
The smart way to handle forex for students going abroad is to split your money across a few options. Carry a little foreign cash, use a forex card for daily spending and send tuition fees directly to your university by bank transfer. Indian residents send money for studies under the RBI's Liberalised Remittance Scheme (LRS).
The RBI explains the LRS rules clearly. Resident individuals can send up to USD 250,000 per financial year (April to March) for allowed purposes, and studies abroad is one of them (RBI LRS FAQs, 2026). The same RBI page says a PAN is mandatory for all LRS transactions. Make sure the person sending money, often a parent, has a valid PAN linked to their bank account.
Here is how each money option works for most students:
Two tips save a lot of stress. First, tell your Indian bank about your travel so it does not block your cards for unusual activity. Second, ask your bank about any tax collected on large transfers, so the amount reaching your university is correct.

Before you fly, buy health insurance that meets your university's or visa's rules, get a full medical and dental check-up, and pack enough regular medicine for your first few weeks. Many universities require a set insurance plan, so check theirs before buying a separate one. Doctor visits abroad can cost far more than in India.
Use this health list:
MADAD student registration puts your details on an official MEA database. That lets the Indian embassy or consulate contact you during an emergency, such as a natural disaster or political unrest. It also helps the government handle student complaints faster. Signing up is voluntary and free, and it takes only a few minutes.
The MEA launched this portal in July 2015 for Indian students abroad. It explains why the data matters:
The MEA says the student registration database helps the Ministry reach Indian students in an emergency and handle their grievances better (MEA, 2025).
To register, keep your passport details, university name, course dates and foreign address ready. Update your profile if you move house or change your course. Also save the phone number of your nearest Indian embassy or consulate on your phone.
Book at least your first few weeks of housing before you fly. University halls are often the easiest choice for first-year students, but they fill up fast, so apply for university housing as soon as you accept your offer. If you choose private housing, check the lease terms carefully. Never send a deposit to a landlord you cannot verify.
Our guide on student accommodation abroad explains the main options in more detail. Before you board, make sure you know:
A practical study abroad packing list for Indian students puts documents, medicines, one change of clothes and chargers in your hand bag. Clothes for the local weather, basic kitchen items and a few small reminders of home go in checked luggage. Check your airline's baggage rules first, because extra weight costs a lot at the airport.
Here is a simple way to split your packing:
Some food items, like seeds, fresh produce and meat, are restricted in many countries. Declare any food at customs when asked. A false declaration can lead to fines.
In your first week, register with your university, open a local bank account, get a local SIM and complete any police or address registration your country needs. Keep your documents with you until these tasks are done. Most universities run an orientation week that walks you through each step.
Here is a simple first-week order:
Settling in is easier with support on the ground. Our post-departure assistance helps students with these early steps after they land.
For students in Pune, Delhi and across India, the biggest lesson is simple: start early and work in order. Most last-minute problems come from slow tasks like loan payments, forex and housing, not from packing. Combine the timeline, the document list and the packing list above into one pre-departure checklist for Indian students: write them out on a single page and tick off each item with your parents.
Parents play a big role here. They often send the fees, so they need a valid PAN and should know the LRS rules. Sit down together, list your deadlines and decide who handles each task. This turns a stressful month into a calm plan.
If you want a second pair of eyes, Study Smart has helped students prepare for study abroad for over 10 years. Our counsellors give you a custom timeline, checklists for your destination and help with flights, insurance and housing. Book your session through our pre-departure assistance for study abroad service and fly with confidence.
Start two to three months before your flight. This gives enough time for loan payments, fee transfers and housing bookings. Students with education loans should start even earlier.
No, MADAD student registration is voluntary. Still, it is strongly recommended because it lets the Indian embassy contact you in an emergency. It is free and takes only a few minutes.
Under the RBI's Liberalised Remittance Scheme, a resident individual can send up to USD 250,000 per financial year for allowed purposes, including studies. A PAN is mandatory for these transfers. Check with your bank for any added charges or tax rules.
No. Always keep original documents in your hand bag, because immigration officers may ask for them when you land. Keep copies in your checked bag and digital scans on your phone.
Most countries allow dry, sealed and packaged foods like spices. Fresh produce, seeds and meat are often restricted. Always check your country's customs rules and declare food items when asked.
















-1791613809.jpg)







































-1750416362-1750417414.jpg)













-1789647708.png)
-1789648196.png)
 (1)-1787123243.png)




















-1749620108.png)













 (6)-1792571238.png)




-1790399182.png)




-1790830806.png)
-1789648364.png)
-1789648032.png)
-1789647864.png)

-1789648649.png)




-1790228836.png)